Healthy soil is the foundation of successful container fruit gardening, but many gardeners overlook one critical factor: soil pH. The pH level of your potting soil affects how well fruit plants absorb nutrients, grow roots, and produce healthy harvests. Even if you water and fertilize regularly, your plants may still struggle if the soil pH is too high or too low.
The good news is that you do not need expensive equipment or professional lab testing to check soil pH at home. With a few simple tools and methods, you can quickly determine whether your container soil is suitable for citrus trees, berries, figs, or other fruit plants.
In this guide, you will learn how to test soil pH at home using beginner-friendly methods, understand the ideal pH range for container fruit plants, and discover how to adjust pH naturally for healthier growth and bigger harvests.
Why Soil pH Matters for Container Fruit Gardening
- Containers hold a limited soil volume.
- pH changes faster due to frequent watering
- Fertilizers build up and shift pH over time.
Common pH-Related Problems in Pots
- Yellowing leaves despite regular feeding
- Slow growth or weak flowering
- Bitter or undersized fruit
- Leaf drop in citrus and figs
How to Test Soil pH at Home: 4 Proven Methods
Method 1: Soil pH Test Strips or Chemical Test Kits (Best Overall)
What You’ll Need
- Soil pH test kit or strips
- Distilled water
- Clean container or cup
Step-by-Step Instructions
- Scoop soil from 2–3 inches below the surface of the pot
- Remove roots, mulch, or fertilizer granules.
- Mix soil with distilled water (as directed by the kit)
- Dip the test strip or add the testing solution.
- Compare the colour to the chart.
Pros
- Affordable
- Accurate for containers
- Easy to repeat monthly
Cons
- Single-use strips
- Slight learning curve for colour matching
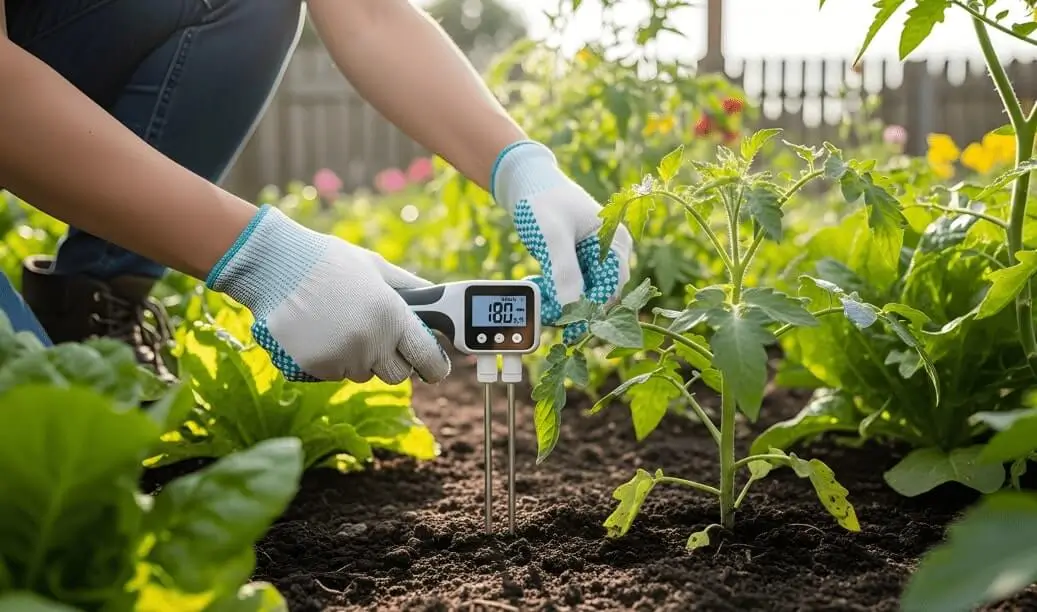
Method 2: Digital Soil pH Meter (Quick but Less Precise)
How to Use It Correctly
- Moisten soil (never test dry soil)
- Insert probe 3–4 inches deep.
- Wait 30–60 seconds
- Take multiple readings in different spots.
Pros
- Fast and reusable
- No chemicals
- Good for rough monitoring
Cons
- Less accurate in potting mixes
- Needs frequent calibration
Method 3: DIY Vinegar & Baking Soda Test (Only for Rough Estimates)
Steps
- Add vinegar to the soil → fizzing means alkaline.
- Add baking soda + water → fizzing means acidic.
Pros
- Free
- Fun experiment
Cons
- Not precise
- Not reliable for fruit plants
Method 4: Professional Lab Test (Rarely Needed for Containers)
- Large collections of fruit trees
- Repeated unexplained failures
- Custom soil blending projects
Best Time to Test Soil pH in Containers
Test Your Soil:
- Before planting new fruit trees
- 3–4 weeks after fertilizing
- At the start of spring growth
- When leaves turn yellow or fruit quality drops
Ideal Soil pH Ranges for Common Container Fruits
| Fruit Plant | Ideal pH |
| Citrus trees | 6.0–6.5 |
| Fig trees | 6.0–6.8 |
| Strawberries | 5.5–6.5 |
| Blueberries | 4.5–5.5 |
| Dwarf apples | 6.0–6.8 |
How to Adjust Soil pH Safely in Containers
To Raise pH (Make Soil Less Acidic)
- Garden lime (small amounts)
- Dolomitic lime (adds magnesium)
To Lower pH (Make Soil More Acidic)
- Elemental sulfur
- Pine bark fines
- Acid-forming fertilizers
Common Mistakes Beginners Make When Testing Soil pH
1. Testing Dry Soil
2. Using Tap Water
3. Testing Right After Fertilizing
4. Ignoring Potting Mix Ingredients
5. Overcorrecting Too Fast
Tools & Care Tips for Accurate Soil pH Testing
- Keep a small notebook of pH readings.
- Label containers with test dates
- Clean tools after every use
- Retest after heavy rain or flushing
[…] fruit plants rely entirely on you for water availability. Unlike garden soil, […]