Self-watering pots are designed to simplify plant care, but they can sometimes create unexpected watering challenges if not used correctly. From overwatering due to constant moisture to dry roots caused by poor wicking, these systems can affect plant health in subtle ways. Understanding the most common watering problems in self-watering pots—and how to fix them—will help you maintain balanced moisture levels and keep your container plants thriving.
Why Watering Problems in Self-Watering Pots Matter for Container Fruit Gardening
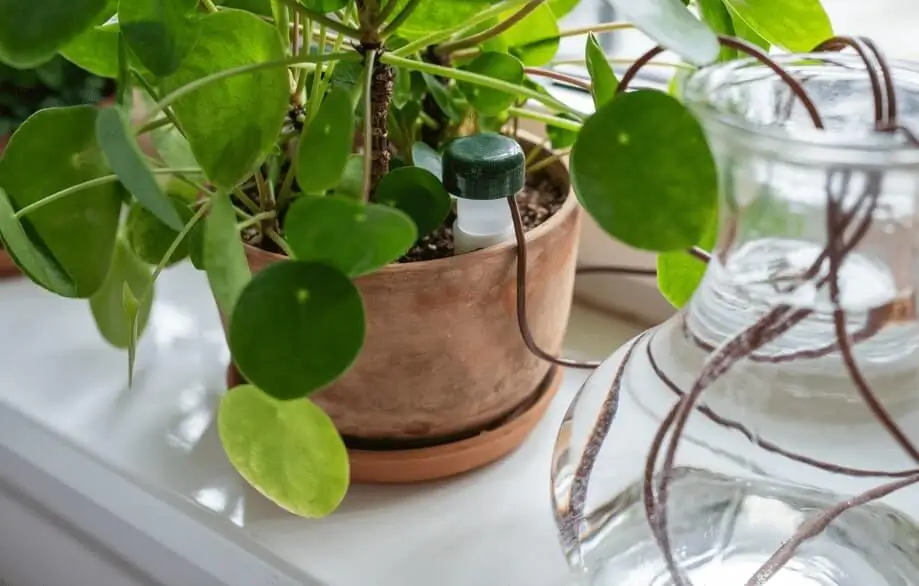
Self-watering pots rely on a bottom reservoir that supplies moisture upward through capillary action. While this sounds ideal, fruit plants have specific water and oxygen needs that can easily be disrupted.
Fruit plants are more sensitive than ornamentals
- Fruit trees and edible plants need consistent moisture, not constant saturation.
- Roots require oxygen; overly wet soil suffocates them.
- Stress from poor watering reduces flowering, fruit set, and flavor.
Small spaces magnify mistakes
Balconies, patios, and rooftops heat up quickly. Combined with self-watering pots, this can lead to:
- Waterlogged roots in cool weather
- Dry topsoil masking soggy lower layers
- Salt buildup from fertilizers
If you’ve already dealt with leaf droop or weak growth, you may also find helpful context in our guide on why potted fruit trees wilt even when watered.
Common Watering Problems in Self-Watering Pots (And Why They Happen)
1. Overwatering Despite “Perfect” Systems
Many gardeners assume self-watering pots prevent overwatering. In reality:
- The reservoir may stay full for too long
- Fine-textured soil absorbs too much water
- Roots sit constantly in wet conditions
This often leads to yellow leaves and slow growth—classic signs also discussed in our article on poor drainage in container fruit trees.
2. Underwatering at the Root Zone
Surprisingly, some plants still dry out:
- Roots may never reach the moisture column
- Wicking systems can fail if soil is too coarse
- Young plants often can’t access the reservoir
If the soil surface looks dry but the reservoir is full, the plant may not be drinking at all.
3. Salt and Fertilizer Buildup
Because self-watering pots flush less water through the soil:
- Salts accumulate over time
- Roots burn silently
- Leaves develop brown edges
This issue is closely related to the symptoms covered in salt buildup in container gardening.
Step-by-Step Solutions to Watering Problems in Self-Watering Pots
Step 1: Use the Right Soil Mix (Non-Negotiable)
Never use garden soil or standard potting soil alone.
Best mix for fruit plants in self-watering pots:
- 50–60% high-quality potting mix
- 20–30% perlite or pumice
- 10–20% compost or coco coir
This balance allows moisture movement without drowning roots.
Step 2: Top-Water for the First 2–3 Weeks
When planting:
- Water from the top until roots establish
- This encourages downward root growth
- Only rely on the reservoir once roots reach it
Skipping this step is one of the biggest beginner mistakes.
Step 3: Manage the Reservoir Intentionally
Instead of keeping it full at all times:
- Fill halfway during cool weather
- Allow it to empty occasionally
- Refill only when the top 2–3 inches feel slightly dry
This approach prevents chronic saturation, a key cause of problems explained further in our guide on fixing dry or compacted soil in containers.
Step 4: Flush the Soil Monthly
Once every 4–6 weeks:
- Water heavily from the top
- Let excess drain out
- Empty and clean the reservoir
This removes salt buildup and refreshes oxygen levels.
Best Practices for Using Self-Watering Pots with Fruit Plants
Choose the Right Plants
Best suited fruit crops include:
- Strawberries
- Blueberries (with acidic soil)
- Dwarf citrus
- Figs
- Herbs and compact berries
Avoid:
- Large fruit trees without modification
- Plants that prefer dry cycles (like pomegranates)
Match Pot Size to Plant Size
- Minimum 5–7 gallons for small fruiting plants
- 10–20 gallons for dwarf trees
- Bigger pots buffer watering mistakes
Monitor, Don’t Assume
Use:
- Your finger (soil test)
- A moisture meter (mid-depth only)
- Plant signals (leaf firmness > soil appearance)
For broader watering strategy insights, see our article on how to water fruit trees in containers correctly.
Common Mistakes Beginners Make with Self-Watering Pots
- Keeping the reservoir full 24/7
- Using dense or clay-heavy soil
- Never flushing the pot
- Fertilizing too often
- Ignoring seasonal changes
Self-watering pots are tools—not automatic solutions.
Tools, Containers, and Care Tips That Make a Difference
Recommended Container Features
- Overflow holes
- Removable reservoir access
- Air gap between soil and water
Helpful Tools
- Moisture meter (for mid-root zone)
- Organic slow-release fertilizer
- Mulch layer to regulate evaporation
Seasonal Adjustments
- Summer: refill more often, but flush monthly
- Winter: reduce reservoir use dramatically
- Rainy periods: empty reservoirs proactively
Frequently Asked Questions About Watering Problems in Self-Watering Pots
Do self-watering pots cause root rot?
Yes, if soil is too dense or the reservoir stays full constantly. Proper soil and flushing prevent this.
Should I water from the top if I use a self-watering pot?
Yes. Top watering is essential during establishment and for monthly soil flushing.
How often should I refill the reservoir?
Only when the plant shows need and the upper soil begins to dry—not on a fixed schedule.
Are self-watering pots good for fruit trees?
They work best for dwarf or compact fruit plants, not large trees unless heavily modified.
Why are my leaves yellow even though water is available?
Likely causes include oxygen deprivation, salt buildup, or roots not accessing the reservoir.
Conclusion: Mastering Watering Problems in Self-Watering Pots
Watering problems in self-watering pots don’t mean failure—they mean adjustment. When used correctly, these containers can support healthy roots, steady growth, and reliable fruit production in small spaces. The key is understanding that self-watering does not mean self-managing. Choose the right soil, manage the reservoir thoughtfully, flush regularly, and observe your plants closely. Start applying these fixes today, and your container fruit garden will become more resilient, productive, and enjoyable—one pot at a time.